Unity Teams, evolved for DevOps
As player expectations grow, studios will always have an opportunity to stand out with high-quality games facilitated by rapid release cycles. Unity creators are more capable than ever, and to help meet market needs, Unity Teams is evolving to deliver on DevOps principles to power collaboration and rapid iteration for teams at any scale.


Resources
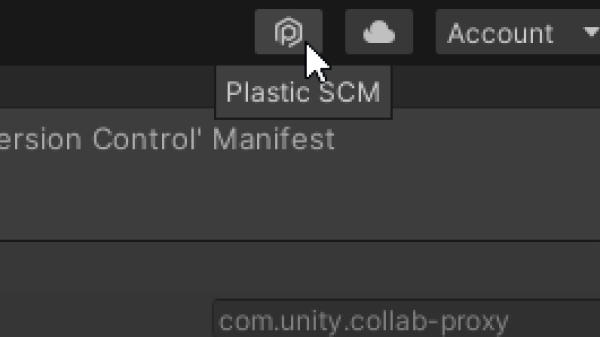
How to set up version control
Set up Unity Plastic SCM for your project in just a few minutes with these instructions.
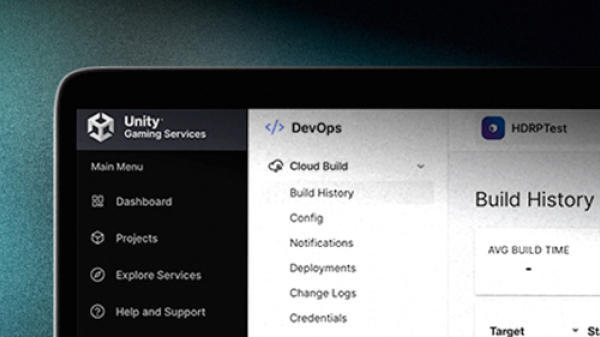

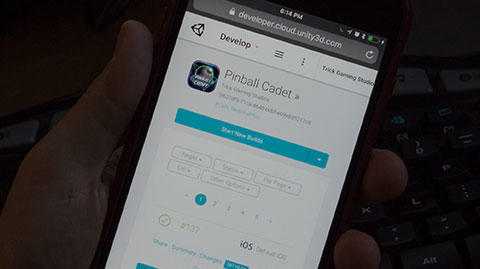
Unity DevOps roadmap
To get a better idea of what’s been released, what’s in progress, and what’s on the horizon, take a look at our DevOps product roadmap page.

Solutions and resources
Dive deeper into Unity’s solutions for DevOps with detailed guides and case studies.
Frequently asked questions
Unity Teams as a bundle of Collaborate and Cloud Build has been retired. Currently, there are two separate DevOps components, each available for purchase separately, Plastic SCM for version control and Cloud Build for CI/CD.
Collaborate has upgraded to Unity’s version control system, Plastic SCM. Learn why here.
Cloud Build is still available, but it’s no longer tied to a Unity Teams bundle. Starting April 28, 2022, we’re raising the repository limit for all new Cloud Build customers from 25 GB to 40 GB, as well as increasing maximum configurable concurrencies from six to eight. You can sign up here.
Access to the benefits of these components is not tied to any subscription. You can take advantage of Plastic SCM’s cloud edition, which is free for up to three users and 5 GB. Cloud Build has pay- as- you- go pricing. View pricing information here.
DevOps is a software development methodology and culture that aims to eliminate silos and automate manual processes. You can read more about DevOps and the various associated tools here.
Unity Plastic SCM has robust functionality inside the Unity Editor, where you can checkin, check out, lock files, view file history, and even create and switch branches. For former Collaborate users, check out this user guide to switching to Plastic in Unity.
Yes! When setting up Cloud Build, you can choose to connect to Unity Plastic SCM as your source control. If you previously used Collaborate for this workflow, you will need to take action to connect Cloud Build to Plastic SCM. Follow this video guide here.
Setting up Unity’s version control solution is simple. You can follow our instructions here, whether you are setting up in the Unity Editor, a separate client, or another engine.
Unity’s version control solution enables team members to collaborate in a shared repository. Sign up for Plastic SCM and follow these instructions to set up your repository and workspace, then invite team members.